How to properly disassemble the iPhone 6S during the repair process
Today's smartphones, there are lots of parts are required to put into the cell phone body. It's used a lot of glue to stick together, and it's basically hard to disassemble. So the first thing you need to do is to understand and learn how to assemble a disassembled smartphone in the right way. If you don't know the right way, then you will never be able to diagnose or solve any problems that affect your phone. Each mobile phone has a different way of dismantling, especially in the area of smart phones. Therefore you need to have the correct knowledge about the disassembly of the smartphone; otherwise you may damage the device.
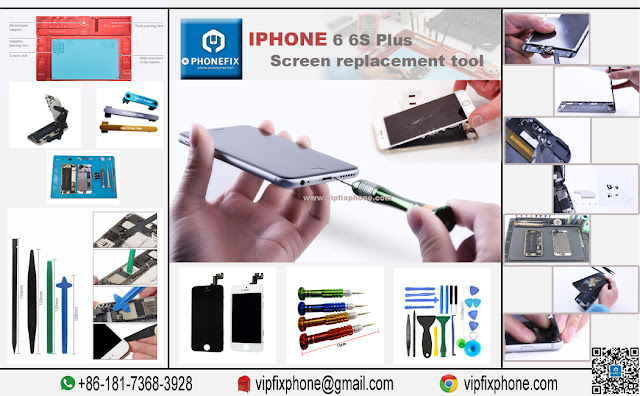
In this article, our VIP FIX shop team will show you how to dissemble an iPhone 6s, and the professional tools you need. Before you start repairing and removing your mobile phone, make sure you have all the necessary mobile repair tools. The tools you need are as follows.
1. Opening Toolkit is professional-grade cell phone repair tools for iPhone
2. Anti Static Rubber Gloves
3. Anti-static wrist strap
4. Anti-static mat
Let's open and disassemble it step by step.
Step 1: Switch off the phone (If it's already not switched off). There are two Pentalobe screws at the bottom of the iPhone 6s, which sit next to the lightning port and need to be removed. Use a Pentalobe screwdriver and remove the screws from the smartphone.
Step 2: place the suction cup on a nearby screen, but not on the home button. Pull on the sucker until there is enough space to insert a plastic opening tool into the gap between the display component and the back of the iPhone 6s. Using both tools,Using both tools, the display component is separated from the back shell.
Step 3: Remove the battery and SIM card. Remove the battery connector holder. Remove the two screws on the grey bracket that's near the lower-right corner of the battery and pull the bracket up.
Step 4: Remove the display cable bracket. This silver bracket is in the top-right corner of the iPhone's casing. You'll need to remove four Phillips screws to do so.
Step 5: Disconnect the camera and display connectors. There are three ribbons beneath the silver bracket—one for the camera and two for the display—that are connected to the iPhone's housing by connectors similar to the one you disconnected for the battery. Disconnect these from your spudger.
Now that the screen is disconnected, simply remove it and place it somewhere safe. Your iPhone 6S is now ready for exploration! You can start repairs.
It is not difficult to dismantle the iPhone6s, but it requires patience and carefulness. Of course, professional tools are also needed. If you need iPhone repair tools and equipment, please research on VIP FIX shop team.


评论
发表评论